Spreading The World of Contracting


Monday, June 9, 2014

Caulking Your Home (Latex/Acrylic and Silicone)


Fixing drafts around windows, gaps in woodwork, seal a sink, leaking gutters, basement drafts, cranked concrete, spaces around the tub, and dozens of other problems in your home, is as easy as inserting a tube of caulk in a caulk gun and squeeze away! Even though it looks easy, doing a professional caulking joint or also called a caulk line or bead of caulk, takes a little technique. But, first you need to find the correct caulking for your project. At your local hardware store or home center you'll find several shelves stacked with a variety of caulks. With the types of materials used in building a house. These materials expand and contract with changes in humidity and climate. Like the house settling and shifting foundation, or beams sagging and causing cracks. Because of these movements, caulk should be durable and flexible. Caulk should have 3 key properties: 1. It must remain flexible as it ages. 2. It must stretch and recover it's original shape when materials expand and contract. 3. It should stick firmly to the material being sealed and not peel off. There's two types of caulking that do this and works on most projects and they are Latex/Acrylic and Silicone caulking. Latex/Acrylic caulk contains a wide range of ingredients like "polymers" (acrylic) adhere well to porous materials like wood and concrete. Latex/Acrylic are most popular because they clean up with water (unlike silicone) and user friendly and paintable. The quality and performance of latex caulk varies on grade and character of the polymers. The higher quality latex caulk adhere better and stay flexible longer and cost more. Silicone caulk excels on non-porous surfaces, it's flexible and last a long time. Silicone caulking is great for surfaces like: glass, metal, plastic, glazed tile and all other smooth non porous surfaces. The best performing silicone caulks are 100% silicone caulk. They cost more and come in two forms: acid-cure and neutral-cure. Silicone has a strong sent to it. This sent is from the acid reaction that causes the silicone to cure. The new neutral-cure silicone doesn't have the same side effects as the acid-cure silicone so it sticks well to plastic and concrete and can not be painted. Neutral-cure silicone are even more expensive then the acid-cure. Neutral-cure silicone is good for vinyl siding and expands and contract with changes in temperature. Once you choose the right caulk for your project, applying it is the next step. First stuff a piece of foam backer rod into a deep gap. Next run a bead of caulk about half as thick as the gap it spans. Most people squeeze a thick bead of caulk in the gap, hoping that will do the trick. This isn't the best way (depending on size of gap), but if you use the best caulk, it should work. As materials expand and contracts the gaps widen and narrows and the caulk will stretch about 25% in a well formed joint. Using  a finger (latex caulk) a caulking tool or spoon will give you an hour glass or curved shape and give your joint a professional look.  


Friday, June 6, 2014

Mildew Build Up

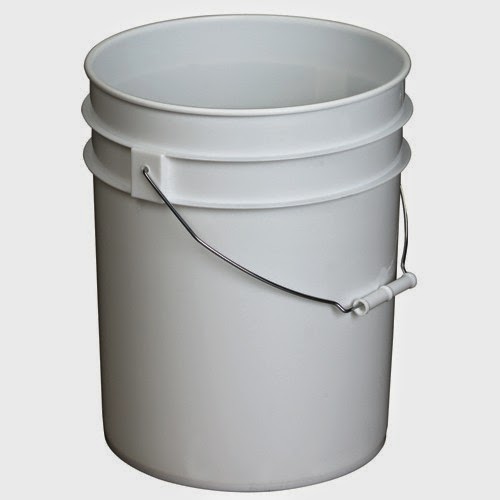
You find mildew growth just about anywhere in your home. From your bedroom closet, bathroom ceiling, kitchen walls and all the way down to your basement. Cleaning it is simply, but keeping it from coming back and getting rid of it permanently can be tough and in some cases nearly impossible! Mildew not only grows on the surface of your painted walls, but underneath on the drywall and as deep as inside your walls. To kill this pesty fungus, use a mixed solution of bleach, trisodium phosphate (TSP) and water. Before you began using solution, wear safety glasses, rubber gloves to avoid skin irritation and respirator mask for chemical odor. Mix solution in a bucket and use a rag or sponge on soft surface and a scrub brush on hard surfaces. 

Sunday, June 1, 2014

WALLPAPERING

Preparation:

By applying oil-based primer to walls, this will protect walls from moisture and make future stripping easier. Once primer has dried, lightly sand walls. Next, paint sizing on walls with a roller and brush so paste can adhere. A color tint will appear to show an even coverage. Use a level to draw a vertical line from the ceiling to the floor starting 8 inches from the corner. Then draw vertical lines from the ceiling to the floor one width of the roll of wallpaper. Next measure the height from the baseboard to the ceiling. Mark off this distance plus 4 to 5 inches on the first strip of wallpaper. Cut the first strip to the correct length. Increase the length of subsequent strips as necessary to match patterns. Apply paste to the first strip of wallpaper, starting from the top. There should be an arrow to indicate which end is up, if not turn strip over to face side to check the pattern. Now double over (fold) about 1/6 of the paper's length from one end so the paste side is touching. NOTE: Don't crease the fold or it will show when the paper is hung. From the other end, fold over about half of the remaining length, almost touching the top and bottom edges. TIP: This called "booking"

Wallpaper Hanging Steps:

Drape paper over your arm and take it to your starting wall. Apply the top of the wallpaper about 1-1/2 to 2 inches over the ceiling line. Allow the overage to extend onto the ceiling, unfurl the top section, holding the right edge against your vertical line and press into place. Next, using a wallpaper brush, brush paper to stick to the wall and push out air bubbles. Working from top to bottom and from the center to the sides. Now unfold the bottom half, holding it along the vertical line, press and brush quickly!The may become dry and the air bubbles will be harder to be removed. Next, press the blade of your spackle knife into the ceiling joint to crease the paper. Then cut off the excess paper along the crease with a utility knife, using spackle knife as a straight edge and wipe off excess paste. Brush strip of wallpaper again and cut excess paper at the bottom, using spackle knife as a straight edge. Position subsequent strip on the wall about 1/4 inch away, then slide it gently into place. If paper doesn't slide easily , gently lift paper and re-position it and then brush. Once the wallpaper has been up for 15 minutes, press the seams firmly with a roller and wipe off excess paste with a lint-free rag.

Tools and Materials Needed: